CS 488/688: Introduction to Computer Graphics
Winter 2024 Assignment 0: Warmup
Summary
The goal of this assignment is to get you accustomed to the websites, tools and technology that we will use throughout the term. There will be a small amount of coding, but you will not need to write any OpenGL code yourself—those parts of the assignment will be provided for you.
This assignment is optional. If you do not hand it in, you will not lose marks. If you do hand it in, it will be marked in the normal way, but the mark will not count towards your final grade. The problem is that it's all too easy to lose marks on future assignments for silly reasons that have nothing to do with understanding the material (such as misunderstanding the submission instructions, or failing to include appropriate documentation). Completing Assignment 0 will help you avoid making any such mistakes when it counts. You'll also get some direct experience with the kind of code you'll be writing throughout the term.
Conversely, it's always possible that we've introduced our own errors in the code we're distributing to you this term. Thus, it's helpful to us for you to complete Assignment 0: your feedback will help us iron out any problems before they derail future assignments.
The directions in this assignment are more explicit than in the remaining assignments. In the future, the steps to follow will not be given in so much detail.
Step 0: Course information
Get acquainted with the information associated with this course. Read the main course web page. Read the outline and make sure your responsibilities are clear and that you are familiar with the marking scheme. Download the lecture notes or purchase a paper copy from the university. Read the additional notes regarding assignments before completing this assignment or submitting anything.
Step 1: Piazza
In order to ask questions, help your fellow students, and keep up
with timely announcements, you will need to enrol in the Piazza
site for this course. You should already have been added
at the beginning of the term. Please verify that you are enrolled
in the course on Piazza, and contact the course staff by email if you are not. You are
free to modify the email address you use for your Piazza account
according to your personal tastes.
On LEARN, submit a text file
called piazza.txt that contains the email address you
used to enrol online, whether or not it was a uwaterloo.ca address.
Step 2(a): Install the Virtual Machine
You will need to test your assignments on the provided virtual machine (VM). VirtualBox is already installed in the graphics lab but you will still need to download the VM. To ensure that you are able to properly test your assignment if the university transitions all classes to online learning, it is strongly recommended that you set up the virtual machine on your personal computer as you work on this assignment. If you are working in the lab, you may skip the first step since VirtualBox is already installed. It is also worth noting that the the virtual machine will download very fast on campus (~1 minute), so if you have slow internet, you may prefer to download it there.
- Download VirtualBox. Choose the appropriate platform package for your host OS.
- Download the cs488 virtual machine
- Extract the contents of cs488-VM.zip
- Open VirtualBox.
- Click Add
- Select the "cs488.vbox" file that was extracted in step 3)
- Click start
- Log in with the password "graphics"
Step 2(b): Framework and source code
By itself, OpenGL doesn't make it possible to write complete programs. At the very least, it needs a way to talk to the computer's window system. And of course, there are numerous libraries, toolkits, and frameworks that we can layer on top of OpenGL to make coding easier. For this course we seek a middle ground: enough infrastructure to help you get started, without hiding the technical details of OpenGL programming. We're using the following:
- C++
- gl3w, a low-level system that provides access to the official OpenGL API.
- GLFW, a simple framework that wraps an OpenGL context inside a window and manages user events.
- GLM, a mathematical library for the parts of linear algebra needed in computer graphics. Conveniently, it mimics the types and features of GLSL, the shader programming language used with OpenGL.
- ImGui, a user interface toolkit.
- cs488-framework, a thin layer on top of the libraries listed above.
To avoid potential problems with missing libraries or incorrect versions, you will download a package from us that contains the source code for all these libraries, bundled with skeleton code for the Assignments.
To begin, download the file cs488-w2024.zip
and unzip it to create a cs488/ directory.
The bundled libraries are all in shared/.
You shouldn't need to change anything in that directory. The assignments
can be completed by writing code in the A0/,
A1/... directories.
Currently, our premake4 files specify that the code will be compiled with C++14. If you prefer to use c++17, then edit premake4.lua and change "-std=c++14" to "-std=c++17" in the build options. You will need to do this in the cs488/ directory as well as the assignment directories (e.g., A0/, A1/, etc.). Contact the instructor if you wish to use another C++ standard other than 14 or 17.
Now build the bundled libraries. They have different build processes, but we've provided a quick way to get it all done at once:
  $ cd cs488
  cs488$ premake4 gmake
  cs488$ make
(You'll need to have premake4 and cmake
installed on your system.)
Step 3: My First Triangle
Now go into the A0/ directory, build the skeleton
code, and run it:
  $ cd A0
  cs488$ premake4 gmake
  cs488$ make
  cs488$ ./A0
You'll see a window with a single white triangle and a small palette in the corner with user interface controls.
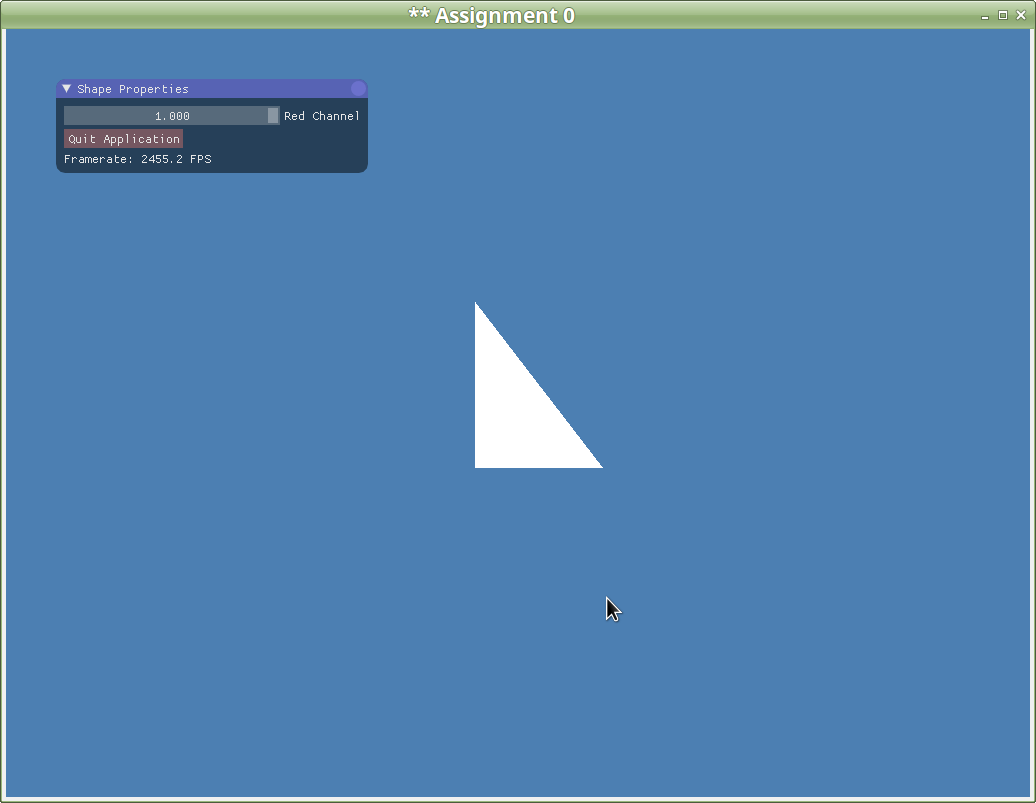
Make the following changes to the program, all in A0.cpp:
- Initially, the Quit Application button is placed underneath the Red Channel slider. Move it so that it's the first control in the Shape Properties palette. Also, add a keyboard shortcut: the Q key should quit the program.
- Add two new sliders to Shape Properties: a Green Channel and a Blue Channel. Taken together, the three sliders should give you complete control over the RGB colour of the triangle.
- Add a slider to control the rotation angle of the triangle
(there's already a rotation member variable in the
A0class that you can set). The slider should allow you to rotate the triangle through exactly one complete circle. - Add keyboard shortcuts to scale the triangle (again, use the defined member variable). Use the - (minus) key to scale down by a constant factor, and the + (plus) key to scale up by the same factor. Choose your factor so that the triangle scales at a reasonable rate.
- Between the Quit button and the sliders, add a Reset button that sets the triangle back into its original state (colour, scale, rotation, position). Add a keyboard shortcut, so that the R key resets.
- Take a screenshot of your finished program and store it as
A0/screenshot.png.
Step 4: README
For programming assignments, you will be required to create a
text file called README. Place your README
file in the A0/ directory. The README
file should contain two sections:
- Compilation: Give short instructions on how to compile and run the program. Indicate if there are any changes relative to the default premake4/make combination. Mention any additional assumptions (for example, if the program must be run from a particular directory). Also mention that you tested your assignment on the VM (if we can't get your program running, we'll try it on the VM as a failsafe). If assignment features do not work on the VM, the assignment will not qualify for a re-mark even if it works perfectly on the host OS of your personal computer.
Manual: The manual is not a restatement of the assignment specification: we know what the program is supposed to do. The manual should include any details or assumptions that you have made that were not included in the specification. Tell us about any extra commands, options or features you added, or any additional data files that you may have generated. If you have made any assumptions about the assignment specification or the objectives, be sure you state and justify them here.
You should also note in your manual any objectives that you did not complete. If you wrote code for objectives that you did not get completed, you may request code credit in your manual.
Step 5: Submitting your program
In most assignments, you'll need to upload a directory of code. Create
a ZIP file containing the A0/ directory and all its
contents. Upload it to LEARN. If you want to be helpful, do a
make clean in A0/ before zipping it up,
to avoid including unneeded build files.
The proper way to create the A0.zip is to use the
-r option. By default, the zip is not recursive.
For example:
  $ cd cs488
  cs488$ zip -r A0 A0
This will create a file called
A0.zip in the cs488
folder. If you forgot the -r option, then the A0
folder in the zip file will be empty and you will receive a poor grade
for Assignment 0.
We highly recommend that after submitting, you download your own
A0.zip file, unzip it and and execute premake4 gmake
and make again to make sure that everything compiles and builds
as expected. For example, a left-over temp file named
A0-backup.cpp will likely cause your submission to not build.
Also be sure to test that your submitted A0 executes correctly and
matches your expectations.
Take special care as your home machine may have a newer compiler. As such, code written at home may not compile on the virtual machine, especially if you make use of language features that are not available on the VM's compiler.
Step 5: Objective list
Every assignment includes a list of objectives. Your mark in the assignment will be based primarily on the achievement of these objectives, with possible deductions outside the list if necessary.
Assignment 0 objectives
-
▢ 1. Student has registered on the Piazza site for the course
and submitted the file
piazza.txt. -
▢ 2. The file
A0.ziphas been submitted and contains the correct files. -
▢ 3. Submitted code directory includes an appropriate
README. - ▢ 4.The Quit button has been moved to the top of the Shape Properties panel.
- ▢ 5. The Q keyboard shortcut quits the program.
- ▢ 6. The user interface includes sliders to control the Green and Blue components of the triangle's colour.
- ▢ 7. The user interface includes a slider to control the triangle's rotation.
- ▢ 8. The user interface includes keyboard shortcuts to scale the triangle up and down at a reasonable rate.
- ▢ 9. The user interface includes a Reset button and a corresponding keyboard shortcut.
-
▢ 10. The code directory includes an appropriate
screenshot in
screenshot.png.