Setup GitLab#
Make sure that you Form a Team before proceeding with this step.
This step will create your team’s project space in GitLab, where you will store project documents, issues, and source code.
Steps#
Use the New-Project Wizard#
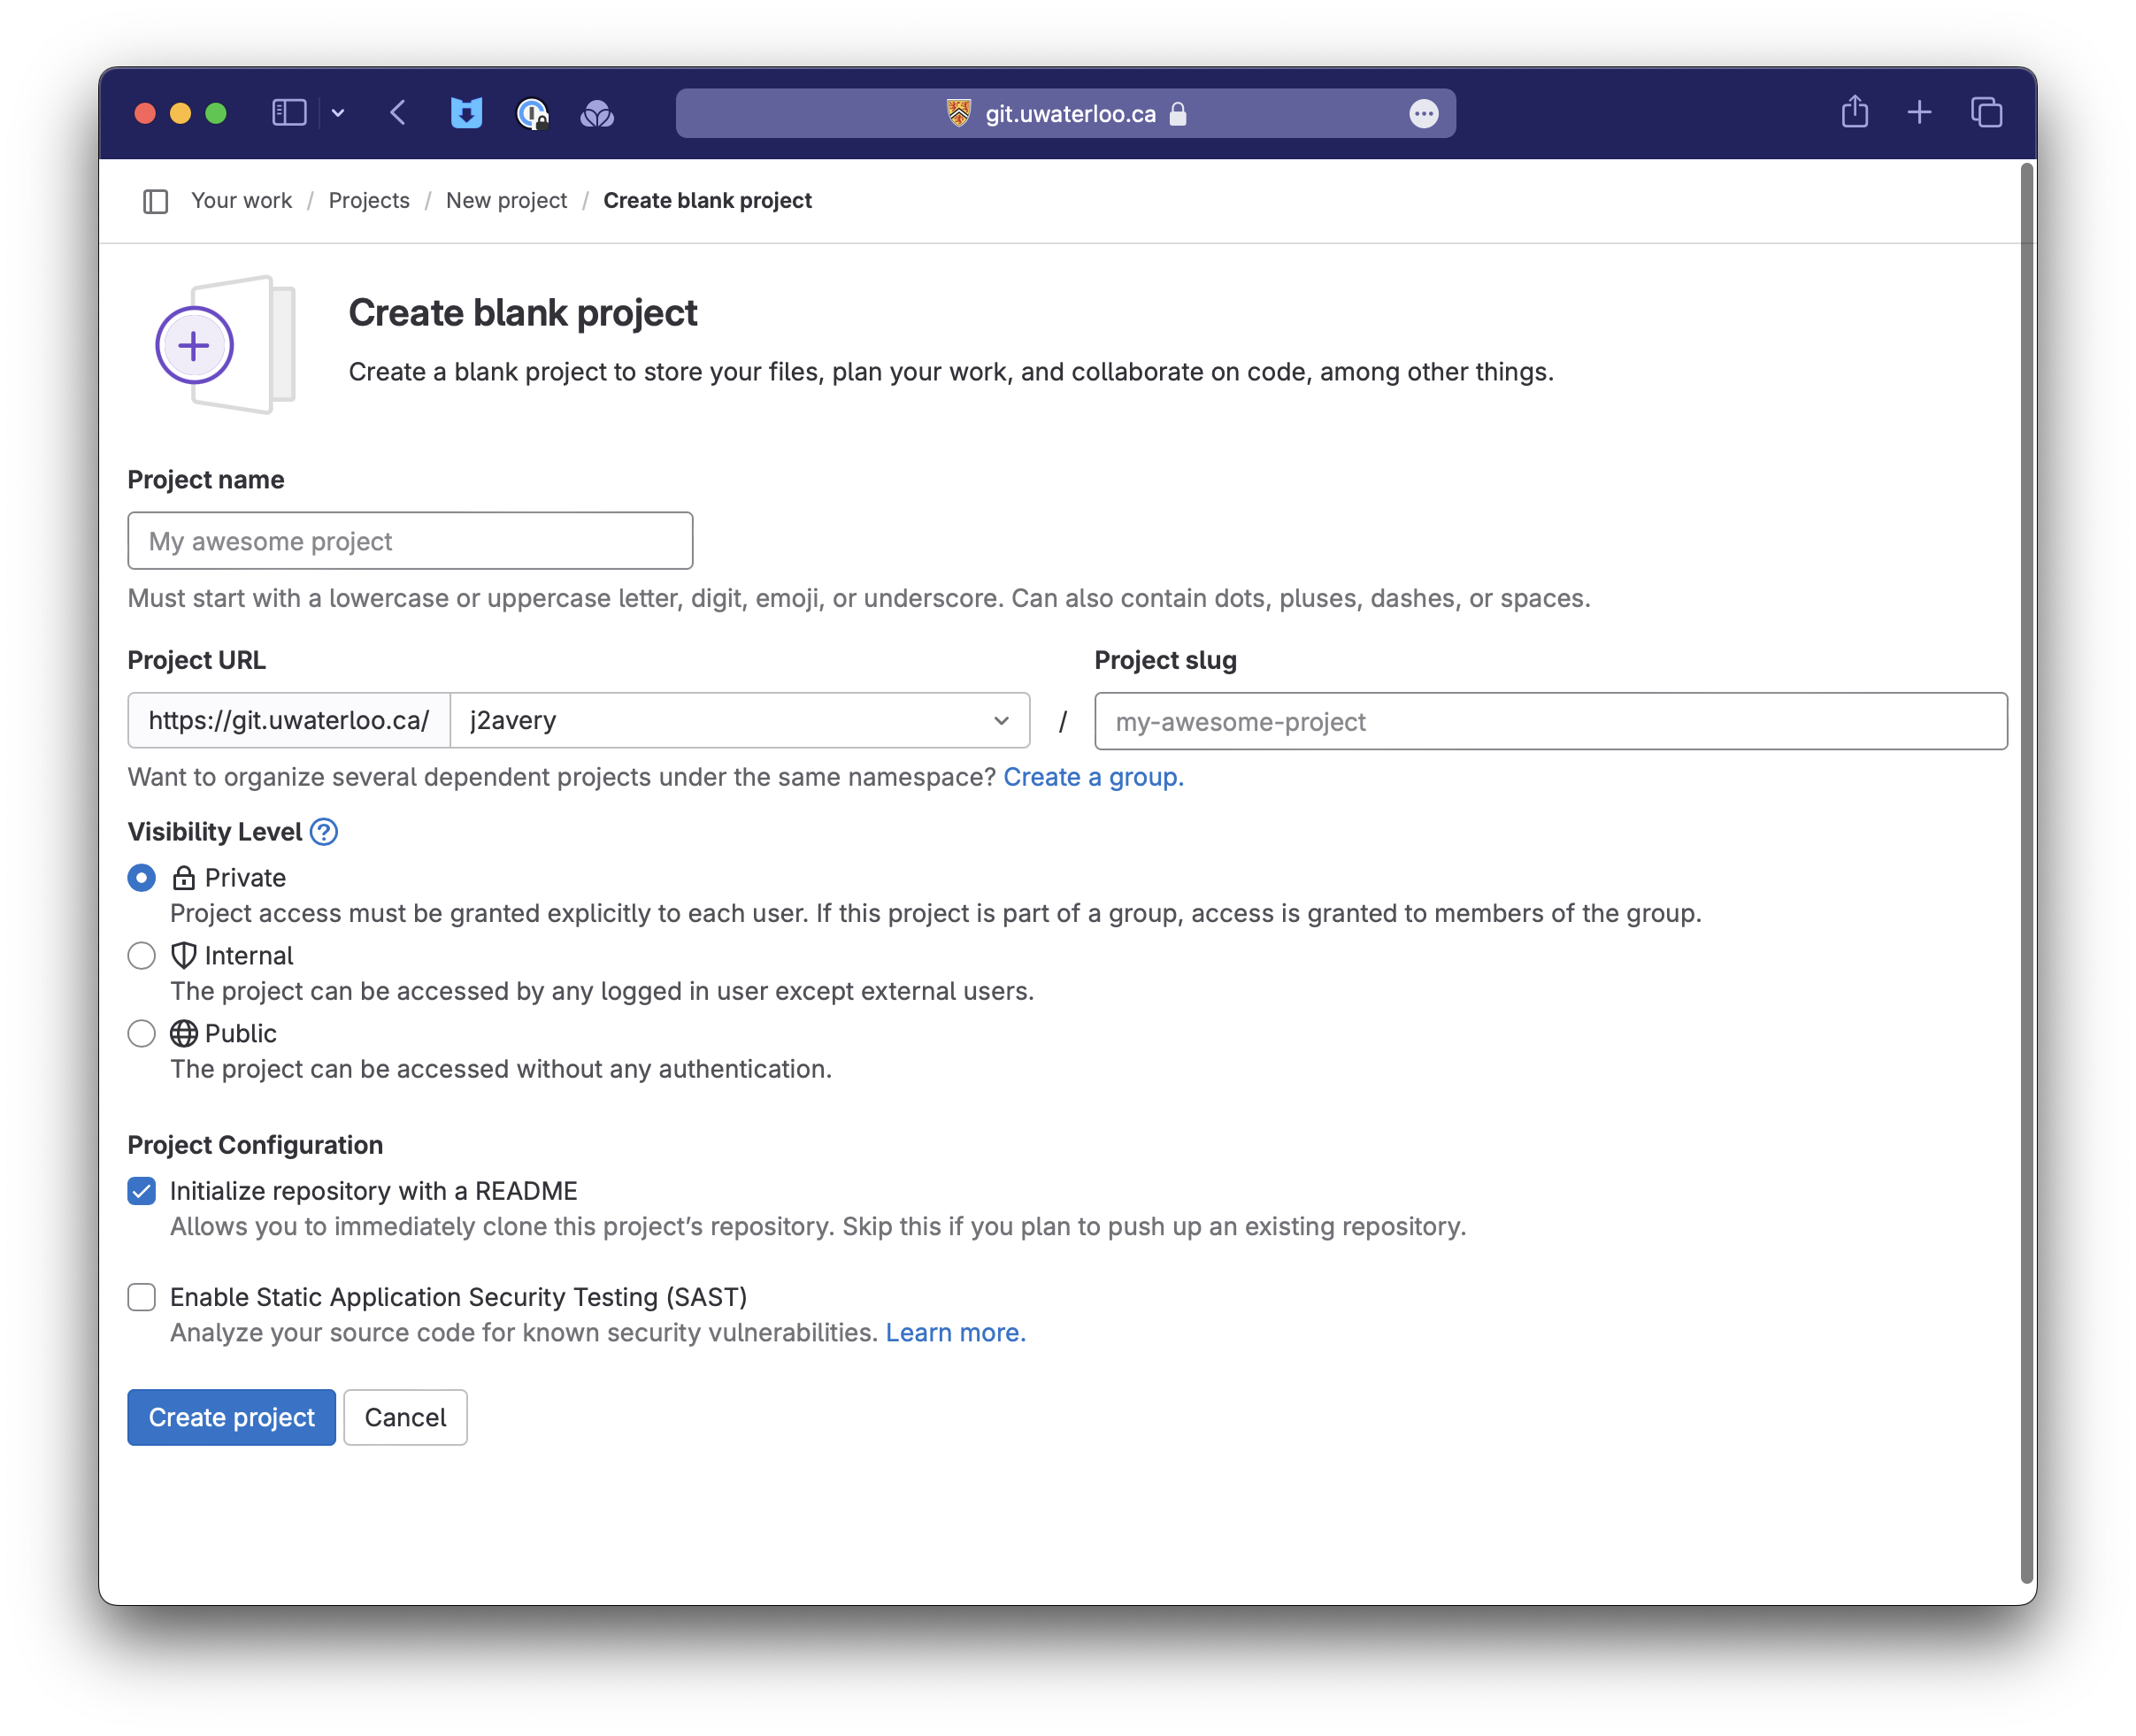
The first step need to be to create a project in GitLab using the built-in wizard.
- Open the GitLab home page.
- Select
+>New project/repository>Create Blank Project. - Fill in the form:
- The project should be placed under the Username of one of your team members (e.g.
j2averyin the example). - Visibility should remain
Private. - Your project should have a descriptive name e.g.,
UberTweets1.
- The project should be placed under the Username of one of your team members (e.g.
- Select
Create projectto proceed.
Set project security#
It’s important that you set permissions on your project. This provides access to those who need it, while preventing others from accessing it! The person who sets up the project should make the following changes:
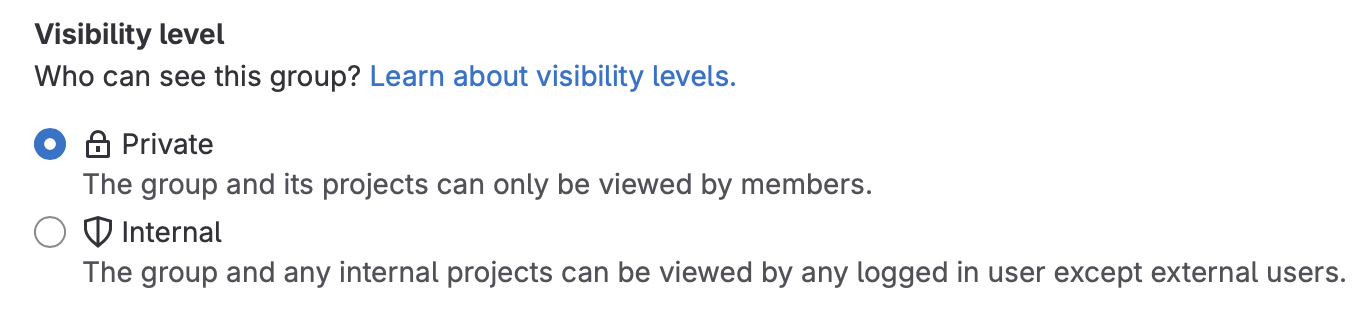
- Check project visibility.
Settings>General>Visibility Level- Ensure that it’s set to
Private.
-
Add your teammates to the project with full access.
Manage>Members,Invite Members.- When they accept, change their role to
Owner.
-
Add the instructor to your project as a
Developer2.Manage>Members,Invite Members, and use details from the contact page.
TAs aren’t assigned to teams until after this deliverable, but they will need access to your project too! Make sure to go back and add your TA as a
Developeronce details are posted on the Demo Times page.
Customize your project (optional)#
If desired, you can also add a project icon, and a description.
Settings>General,Project Avatar.Settings>General,Project Description.
Submit your project.#
When you have completed the steps above, please submit for grading.
Login to Learn, navigate to Submit > Dropbox > Project Setup, and submit a link to your top-level project page from GitLab. This is important, since it’s the only way we have of easily locating your repository!
Note that only one person on the team needs to submit this link. This is a team dropbox, so everyone will be credited with the submission.